Are you considering upgrading, but do you need to figure out the benefits of BricsCAD® V23.2? Then stick around while we review some key benefits and answer the question – why upgrade to BricsCAD V23.2? We have plenty of new and improved features and commands to show you! If you missed Part One – you can check it out here! Now, let’s get up to speed with BricsCAD V23.2.
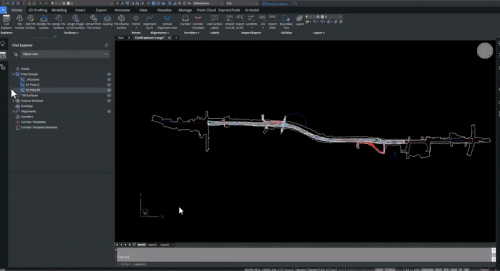
6. Civil Explorer Panel
BricsCAD® V23.2 includes new and improved civil tools for a civil workspace – easily accessed via the Civil Explorer Panel. This includes tools for creating and editing for grading and editing surface and TIN volumes, gradings, civil points, and alignments.
You can also benefit from templates for preliminary design elements like corridors. The Civil Explorer panel offers an intuitive, streamlined, and user-friendly interface to help you complete your design tasks more efficiently in fewer clicks!
7. Point Cloud to TIN
In BricsCAD V23.2, you can easily create a TIN surface from a point cloud or other entities like points, polylines, and Civil 3D files.
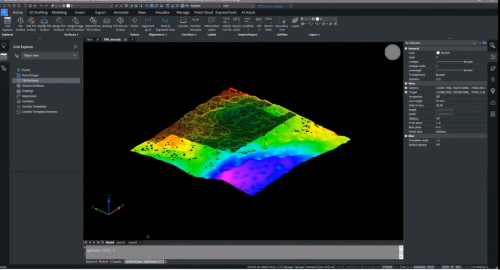
You may not need to include every point from a point cloud, and with BricsCAD, you can filter some of the unnecessary points out to make your drawing more lightweight for better performance. As always – you are in control, so you can add any of these points back to the TIN surface if needed! You can quickly turn the point cloud display on or off with the point cloud manager panel.
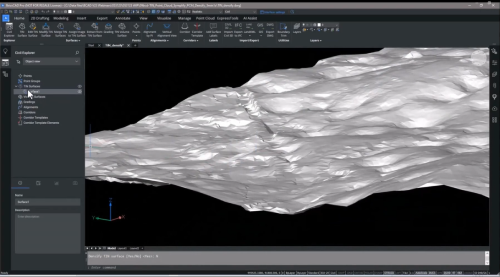
8. Editing TIN surfaces
BricsCAD® Pro V23.2 has made editing TIN surfaces easy with the Civil Explorer panel, a one-stop shop for creating and editing civil entities.
Do you need to view and edit the TIN surface data? Just click in the lower half of the Civil Explorer. Here you can view the source data of how the TIN surface was built – either by step or component. You can also view the statistics – for example, how many points or triangles there are.
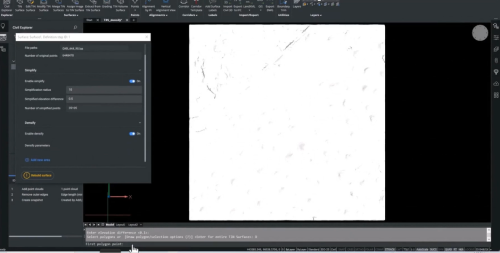
If you want to add more data to your TIN surface, you can do so in just a few clicks via the Civil Explorer – no need to reprocess the entire surface. Instead, you can densify (DENSIFY) the specified area and only rebuild that area of the TIN surface area by adding additional points.
9. Modeling within the TIN Surface
The single .dwg-based platform in BricsCAD means that moving from 2D to 3D is simple. With the intuitive, easy-to-use 3D modeling tools in BricsCAD Pro, you can model directly in the TIN surface or within a point cloud.
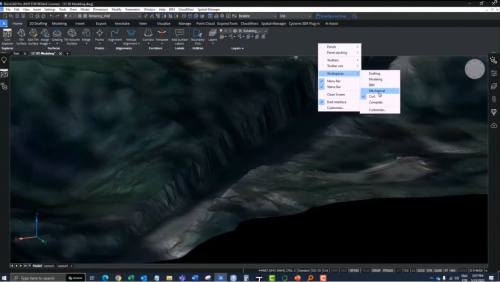
In a few clicks, you can create a conceptual design for elements like a retaining wall in the example below.
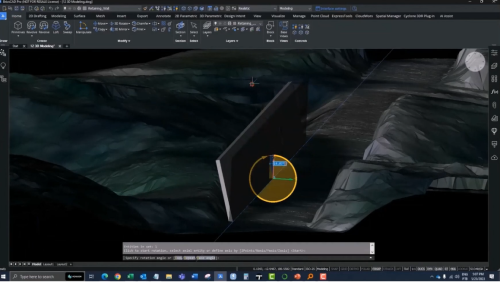
If you’re a BricsCAD Lite user and have been thinking about moving from 2D to 3D, now is a great time to upgrade to BricsCAD Pro V23.2!
10. Mechanical Symbols, Simplified!
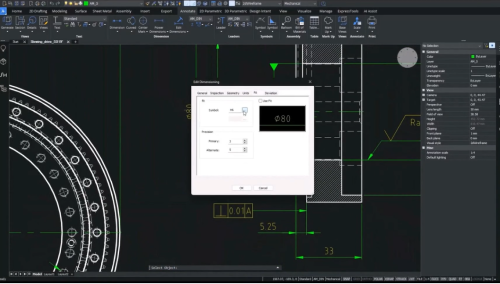
In BricsCAD® Mechanical, we have simplified the creation and editing of mechanical symbols, and now it’s possible to edit more symbols and dimensions from other CAD software.
BricsCAD Mechanical V23.2 also now features a new Powerdim tool. This tool intelligently creates the correct dimension with the selected geometry, including fits and tolerances – making dimensioning your drawing views effortless.
